|
|||||||||||||||||||||
|
|
|
|||||||||||||||||||||
|
|
|
|
|||||||||||||||||
|
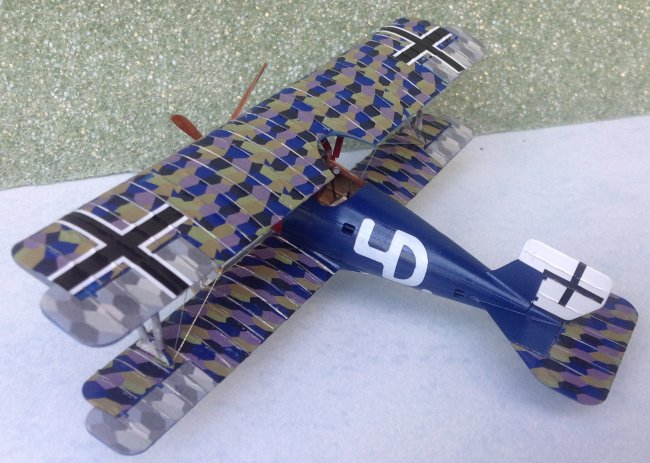
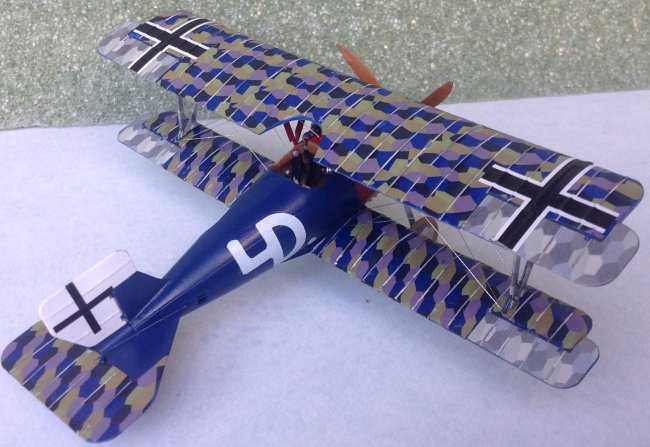
1/48 New Tooling product # 8256 Eduard began producing World War One kits about the same time I got back into modeling, sometime in the 80s. One of their earliest kits was the Siemens-Schuckert Werke's D.III. It was a typical, limited run kit with a pe fret and decals for multiple planes. I never got around to building it, and was excited when Eduard announced it was doing a new tooling of this airplane. The two kits are like night and day, with all of Eduard's new molding techniques being fully utilized in the new kit. The new kit has 2 sprues covering the main parts of the plane, a colored pe fret that includes seat belts, a seat back and turnbuckles, masks for the wheels, a small clear film sheet for the windshield, and decals for 5 airplanes including the 5-color lozenge needed for the wings and elevator.
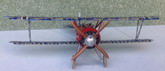
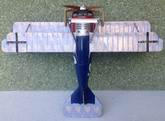
The SSW D.III used the Siemens-Halske rotary engine, a unique setup that allowed for the rotary engine to spin in the opposite direction of the propeller. According to Eduard's instruction some 136 D.IIIs and D.IVs were issued to combat units. At one point Jasta 15 was fully equipped with the D.III. Haupt. Berthold had all of his Jasta's aircraft painted with Prussian blue bodies and red noses. This makes for a striking model and so I decided on a Jasta 15 airplane. While kit the provides decals for a D.III from Jasta 15, I decided instead to model the plane flown by Oliver von Beaulieu-Marconnay, a 25 victory ace and the youngest recipient of Blue Max. The "4D" represented the branding iron used on their horses by his former regiment, the 4th Prussian Dragoons.
The actual build itself is relatively trouble-free. The cockpit parts, while small, fit nicely. Some of the internal parts for the engine and cockpit aren't visible when the fuselage halves are closed up, so it won't be noticeable if you leave certain parts off (A53/54, A28, A24). There aren't many photos of Jasta 15's D.IIIs, so I took a little license and did not apply part A71, the optional headrest. Oh yeah, did I mention I forgot to attach parts B 51/52? I think they have something to do with the ailerons. Oh well, maybe next time. The attachment holes for the cabane struts and the lengthened pins on the struts made for an easy alignment of the top wing, a stress point whenever building a bi-plane. Mike Muth
|
||||||||||||||||||
Photos and text © by Mike Muth