|
|||||||||||||||||||||
|
|
|
|||||||||||||||||||||
|
|
|
|
||||||||||||||||||||||||||||||||||||||||||||
|
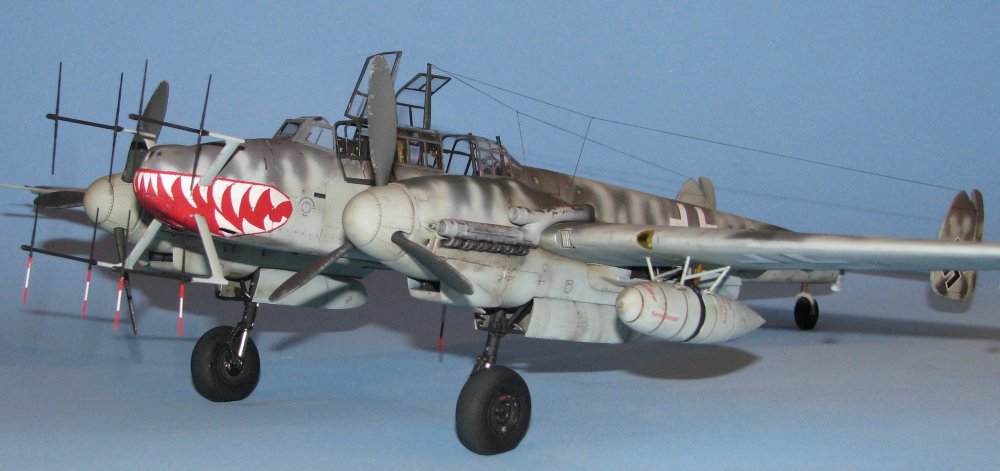
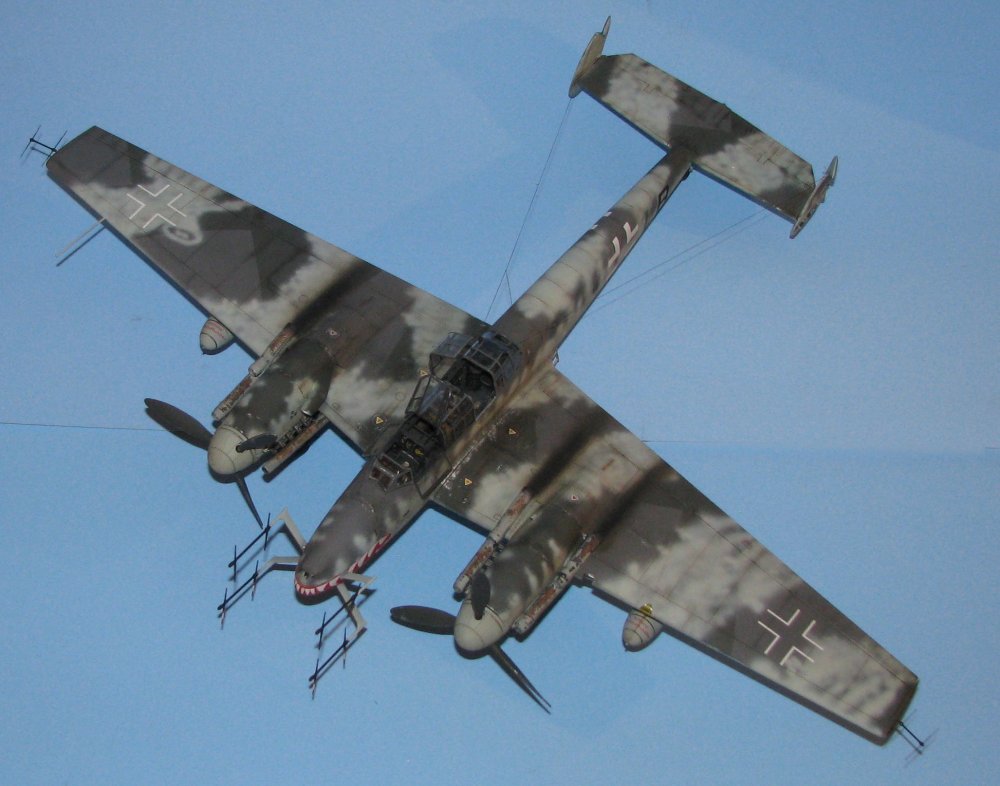
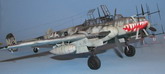
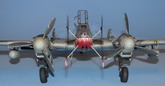
The Messerschmitt Bf-110 was designed as a heavy fighter/fighter bomber. In the initial phases of WWII it was a successful machine, with it's heavy armament, but in 1940 during the Battle of Britain it's vulnerabilities came out. Sure if a 110 got on your tail and fired a burst at you, well you stood little chance, but they were slower and less maneuverable than the RAF's Hurricanes & Spitfires, and in the end, the escorts needed escorts! It seemed that the 110 was due for the scrap heap until it was reinvented as a night fighter. It's speed and maneuverability was just fine for hunting Bomber Commands heavies. The airframe was capable of being adapted to carry radar and heavier weapons, especially when Schragge Musik, two 20mm cannons mounted just off the vertical, was introduced. The Bf-110 served on to the end of the war and took a heavy toll on Bomber Command's raids.
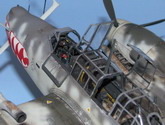
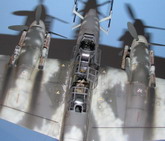
My model is a Bf-110G4 is a conversion of the Dragon/Revell 1/32nd scale kit using the superb AIMS conversion. The replacement resin parts drop into the kit with very little need for any cutting or modification. You get a complete cockpit, a canopy in cast clear resin which is as thin and clear as any kit part. The set includes a beautifully printed decal sheet offering numerous colour schemes. Instructions are in the form of a CD which you upload to your computer and includes reference photos of the actual machine as well as comprehensive instructions, and full colour decal & painting guides.
The model was painted using Xtracolor enamels which are RLM matched. Though the 110 was seriously outclassed when it came up against Allied fighters, it excelled at night as a bomber hunter killer. RAF Bomber Command has the second highest casualty rate of any combat unit, after U-Boat crews. This high rate of loss is partially due to the efficiency of this night fighter, Angelo M Picardo
|
|||||||||||||||||||||||||||||||||||||||||||||
Photos and text © by Angelo M Picardo