|
In the late
1920's the Berliner / Joyce Company was a new, small company composed
mostly of ex-Curtiss engineers. Having had some initial success with the
P-16 2 seat pursuit with the army they then fielded the XFJ-1 in
response to a US Navy specification for a new fighter issued in 1930. As
a design it featured many features that were then in vogue in Europe- the
main feature being the upper wing being attached to the fuselage in the
same manner as a parasol aircraft- and then suspending the lower wing
below the fuselage with struts. It did have an all metal monocoque
fuselage but otherwise was a very typical aircraft for the time. It did
not have much success in the competition, having a distressingly strong
tendency to ground loop (and was rebuilt at least once due to this) and
even after being refined was not entered into series production. The
initial prototype was purchased by the Navy for use as a test aircraft due
to it's remarkably robust construction -it was terminally dived regularly
from over 12,000 ft- and stayed active in this role until the late
thirties.
Click on
images below to see larger images
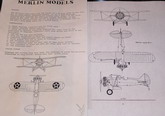
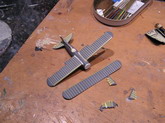
As far as I know
the only kit available of this rare bird is the venerable Merlin Models
kit in 72nd scale. The kindest thing that can be said of any Merlin
model kit is that is does provide a superb starting place to begin a
replica of the airplane chosen- and to be fair is no worse than any other
short run kit from that era (1980's?). I scored this one on E-bay for the
whopping sum of $6.00 - the other great thing about Merlin kits is there
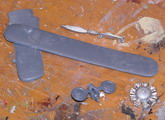
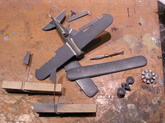
doesn't seem to be intense bidding on them! As usual with these kits
keep the big pieces - the rest do truly look at home in the waste bin- in
this case I used only the fuselage halves, wings and tail feathers. I did
decide to use the tires, engine and propeller from the Monogram F4B-4
kit (it having some of the best detail parts going in spite of it's rather
advanced age) to speed up the process and the rest is a bit of time
to scratchbuild. First step is the interior- some Tamiya tape for
framing-some small bits added- and on to the assembly of the fuselage.
I
do like to separate the control surfaces-so this is the time to do it- and
also to sand the fuselage to shape after the filling process has occurred.
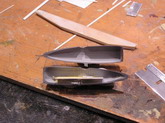
The wings do need quite a bit of thinning to carry an appropriate airfoil
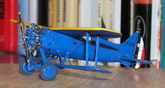
shape but luckily the plastic is soft and it goes quickly. After getting
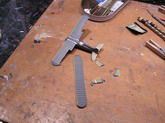
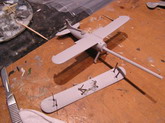
everything smooth and straight I then begin the process of restoring the
detail by use of Tamiya tape and paint- using it to create the ribs and
detail on the wings -sealing it in and heavily priming it to "soften"
the
detail just enough to make it look natural- and also using it as a masking
to create detail by priming heavily and removing the tape to leave the
primer build up as surface detail- this works best and shaped or curved
areas where tape really doesn't lay well. Both types of this are
demonstrated in one of the build pics- the wings are with tape left on-
the stabilizers/control surfaces are with it removed as a mask. In
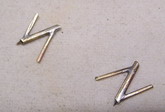
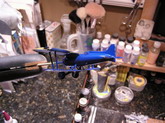
building biplanes I do highly recommend using the metal strut stock
-attached with epoxy and soldered together if necessary- to create a
strong/stable joint to build on without the worry of it breaking later on.
The biggest pain was the strut work- all hand cut and added after basic
painting had been completed.
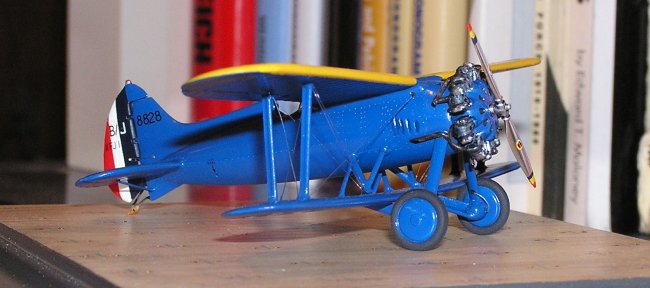
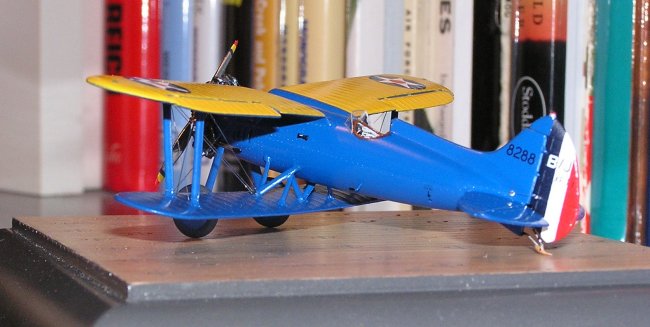
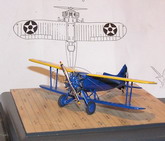
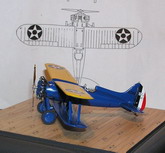
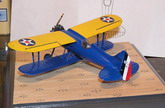
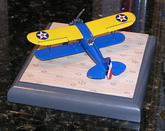
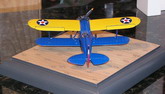
After assembly the
painting process begins- I chose a more unique interpretation of the colors for
this aircraft based upon a casual comment by Peter Bowers in his book
"Forgotten Fighters" - that it had a blue scheme reserved for
executive aircraft on it as a prototype. After looking at the available pictures
I did see that the color of the fuselage was indeed darker than a light grey
should be- but not as dark as the insignia blue in the rudder stripes (see
attached pic) so I went with a basic true blue /yellow scheme as a safe
alternative since this was also used on the navy racing aircraft of the period.
I always scribe the aircraft after decals and clearcoating- so I added the panel
lines with some rivet detail, added some exhaust pipes -used the chrome Alclad
for the propeller and made the windscreen from some sheet acetate.
Keith
Click on
images below to see larger images
|