|
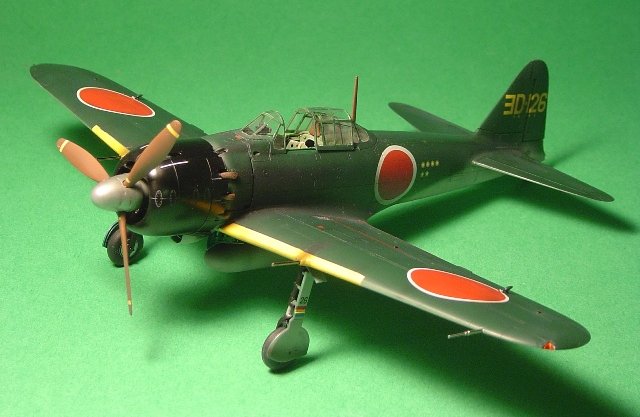
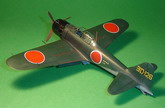
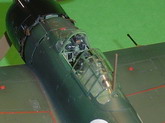
This is the new Tamiya 1-48 A6M5/5a
Zero Sen. The kit went together beautifully with no assembly problems
except those of my own making. The parts are so precise that you need to ensure
that they are all the way together before you bring glue to them. After
assembly I noticed one of the front fuselage side panels was misplaced but it
was too late to fix.
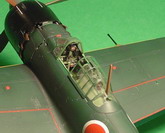
It really is an issue of placing many of the parts until they 'click' rather
than a poor fit. The rear stabs were added after painting and the landing
gear is a press fit without glue.
Click on
images below to see larger images
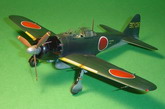
It was completed using mostly Tamiya AS
spray lacquer paints decanted and sprayed through a Tamiya Sprayworks HG
airbrush. The decals are from the kit and were superb over Future
clear coat and Mr Mark Softer decal solution.
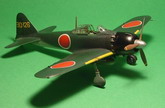
I spent a lot of time pre-shading,
post shading and random patterns of lighter base colour and Tamiya
"smoke" all over the model BUT after applying the final finish
coat of Vallejo Air "satin" all shading on the topside disappeared.
This was my experience with the Vallejo Air "satin" and it was not so
good, it was very flat and even went chalky white in areas. Not so bad
over the grey underside but I had to buff the topside with a soft cloth to get
rid of the unrealistic flatness. In addition it was very hard to clean out
of my airbrush being unresponsive to water, alcohol thinner (Tamiya and Model
Master), even lacquer (cellulose) thinner did not work that well. I threw the
bottle away after this - any suggestions for a reliable true "satin"
finish?
Bill Bunting
Click on
images below to see larger images
|