|
|||||||||||||||||||||
|
|
|
|||||||||||||||||||||
|
|
|
|
|||||||||||||||
|
Getting a little bored during the Covid Quarantine I decided to build something different. I wasn't sure what to build and then I found the old 1967 edition of the Monogram Ford Tri-Motor kit. The box and instructions claim it is in 1/72 scale; however ScaleMates lists it as 1/77. The decals I ended up using also claim it to be 1/77. As for me, I have no idea; I just wanted to do something different. In 1956 Monogram produced its first kit of the Ford Tri-Motor, complete with skis to represent the airplane Admiral Richard E. Byrd flew during one of his Antarctic expeditions. Some parts were added to the kit in 1965 and the 1967 version that I had was the same as the 1965 version but with different decals. The kit is very basic with no cockpit interior provided and nothing in the passenger cabin except a lot of empty space. The kit is typical of those developed in the mid-1950s with young boys as the target market. Make the airplane quick, play with it awhile, blow it up with a firecracker.
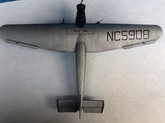
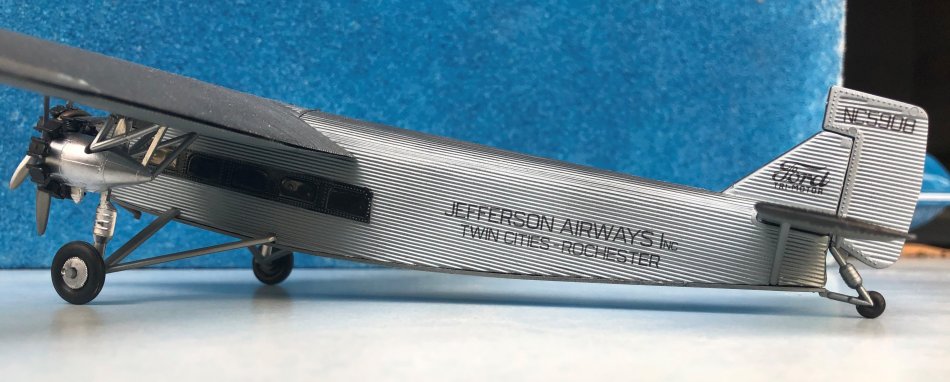
The decals in the kit were beyond redemption. I didn't think there would be any aftermarket decals for this airplane, but I was wrong. A quick search led me to Draw Decals. It seems they mostly do decals for airliners. I chose set 72s-Trimotor, a sheet depicting a Ford Trimotor run by Jefferson Airways. The route flown by Jefferson was from the Twin Cities (Minneapolis-St. Paul, Minnesota) to Rochester, NY. The instruction sheet is pretty basic, as are the actual decals supplied: NC numbers, a choice of including Rochester or not for the fuselage, a Ford Company logo and a Walk Here marking. The instruction sheet claims the decals are the "Next Generation" of decals called Digital Silk. They are printed on a continuous, clear film. While durable, they are very thin and easily fold over onto themselves. I had a little trouble with the "Walk Here" decal, the first one I applied. After that, no major problems as long as you take your time to be sure the decal doesn't fold over.
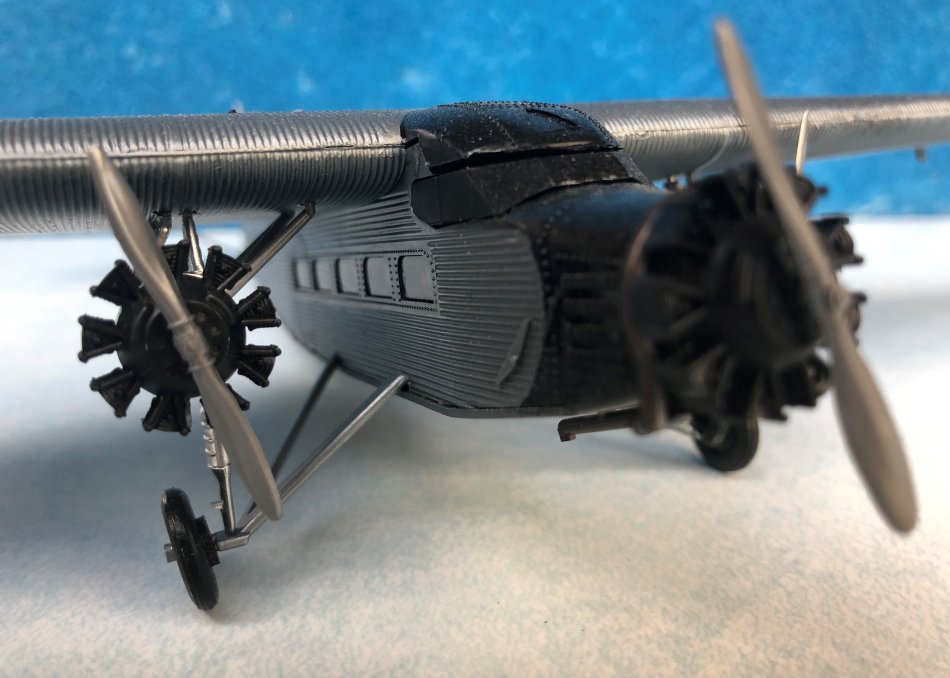
Construction of the kit is straightforward. For such a dated model, the fit is very good. This is especially true when tackling the 2 Wright J-6 900 horsepower radial engines suspended from the wing. The horizontal stabilizer supports fit in nicely with the fuselage locating holes. The complicated looking landing gear struts fit onto the fuselage before the bottom is applied. Fit was perfect...not bad for an ancient model. The only real fit problem I ran into was with the cockpit window. I had decided to paint all the glass gloss black since there is no interior provided in the kit. The black window band and front fuselage were done with a flat black. The photos show the gap between the cockpit window and the fuselage. Since the plane was already painted when I inserted the cockpit window, I decided to leave well enough alone. The only other painting was the main color of the Tin Goose. I opted to use Model Master non buffing stainless steel. All in all this was a pleasurable build. The corrugated aluminum wing poses some match-up problems but overall the result is acceptable. A fun break of pace from all the rigging associated with World War I airplanes. Mike Muth
|
||||||||||||||||
Photos and text © by Mike Muth