|
History:
The Boeing 777
was originally planned as a stretched version of the 767 by United Airlines,
but Boeing decided to create a whole new design. This was the first aircraft
to be designed entirely on computer, with a unique fuselage cross section, the
first fly-by-wire system to be applied on an aircraft, large scale use of
composite materials, and new extremely powerful engines. The 777 was also
originally thought of as a 747 without the top deck and only 2 engines. The
creation of the Boeing 777 was launched in October of 1990, with Boeing and
United Airlines working closely together. The aircraft was offered in 2
versions, the 777-200, which was initially A-market, and the 777-200IGW
(Increased Gross Weight), which was initially B-market, and now knows at the
777-200ER. The first 777-200 flew on June 12, 1994 and was given full
certification on April 19, 1995. The first customer delivery was to
United Airlines in May 1995. The first 777-200IGW/ER was delivered to British
Airways in February 1997. The 777-100X was a proposed shortened long range
version, but the program was dropped in favor of the new -200LR, which Boeing
claims is currently the longest ranging airliner in the world, being able to
fly non stop from London to Sydney. The Boeing 777-222 uses Pratt &
Whitney PW4704 turbofans, which have a diameter as big as a 737-800 fuselage.
|
Click on
images below to see larger images
|
|

|
 |

|
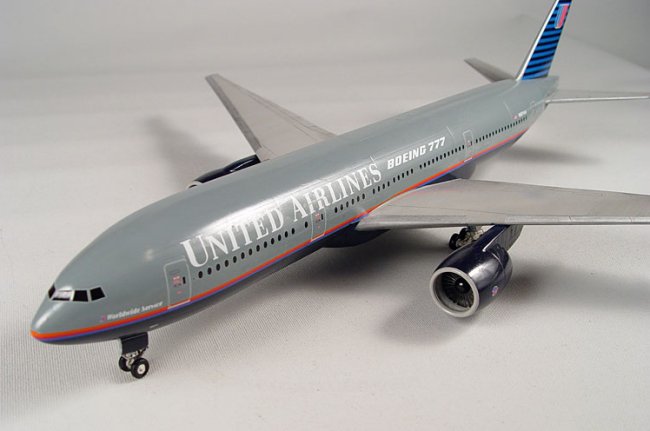
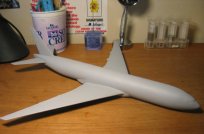
The Kit:
The kit comes molded
in plain white plastic, with the usual pieces that make up an airliner. The
wings have an interlocking system to hold together. It comes with beautifully
molded PW4704 engines. There is not much detail on the landing gear, and the
panel lines on the aircraft have minimal detail too, but what would you expect
from Minicraft? The windscreen comes as a typical large glass piece that
Minicraft always offers. The decals are printed beautifully as well.
Construction:
The
construction began with the joining of the fuselage halves. First, I put about
10 pennies in the nose. I made sure the seams were good by covering them with
putty and sanding it all down. I then attached the windscreen, which was
really a hassle because the seams were so horrible that I had to fill and sand
about 5 times to get at least get some holes away. The wings have an
interlocking system that connects in the center of the fuselage so that they
can be positioned straight. There was a problem with the flap jack fairings on
the wings that someone mentioned to me. They are a bit too square, so I had to
sand down their edges to give them that curve. Not a lot of putty was needed
for the joints, which made me very happy. The stabilizers also had
minimal filling, but there was a lot of work that needed to be done at the
front of the joints to make it blend in with the aircraft. I then rescribed
all the areas that needed to be rescribed, and primed the aircraft for
painting.
The engines
were fairly easy to do. They were made of two main pieces, two covers, a fan,
the exhaust, and the front cover. I don't know if it was my poor assembly
work, but I needed to sand down a lot on the engine covers and the two main
pieces. I then too primed the two wonderful engines.
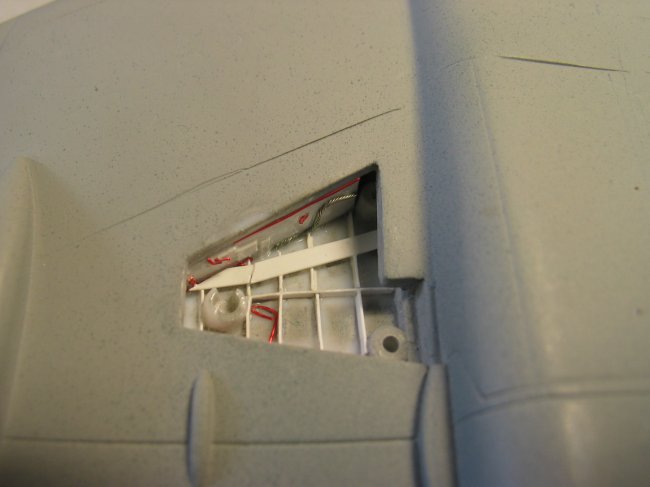
I also decided
to add some detail to the landing gear bays. For the front, I used styrene
sheet to cut make boxes that held electronics. I also used electrical wire to
simulate real wires. In the main landing gear, there were no walls, so I
constructed those out of styrene sheet. I also used the same technique for the
boxes and wires. I also used the styrene sheet to build the internal
structure, as you can see in the photos.
|
Click on
images below to see larger images
|
|
|

|

|
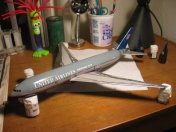
Painting:
I began the
painting process by painting the majority of the fuselage with Tamiya Light
Grey. I then masked the top half using pictures from Airliners. net and
estimation using Tamiya Masking Tape. Then, I sprayed the bottom of the
aircraft and the engines with Dark Blue. I also sprayed the edges of the tail
with Dark Blue just in case the decal wouldn't cover some areas. I then took
the masking tape off, and began masking the wings and stabilizers, which was a
crazy situation, since the wings have a certain curve in them, and I have to
make it look straight. I sprayed the whole wing with a mix of Sky Grey and
white. I then masked the front flaps of the wings and stabilizers and brush
painted them with silver. The bottom of the wings also needed coroguard, which
was masked and painted with a very dark gray. The bottom of the fuselage had a
straight wide line going down from the front landing gear to the tail, which I
also masked and painted with the same color I used for the overall wings. I
then sealed the finished paint job with a coat of Future.
The engine fans
were painted with a mix of 85% Black and 15% Silver. The exhaust system had
different areas that were painted burnt steel, silver, smoked silver, and
other forms of silver. The tail also has a strip of silver on it. I then
sealed the finished paint job with a coat of Future.
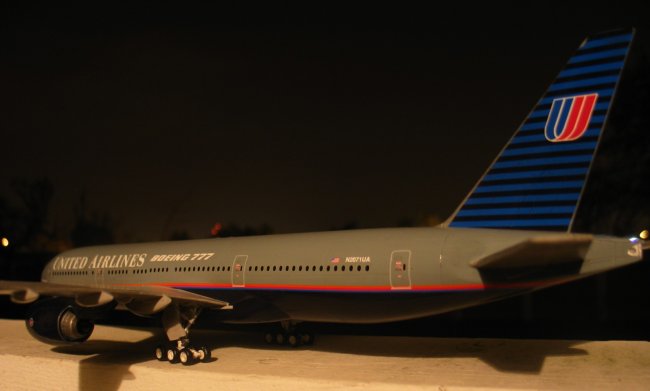
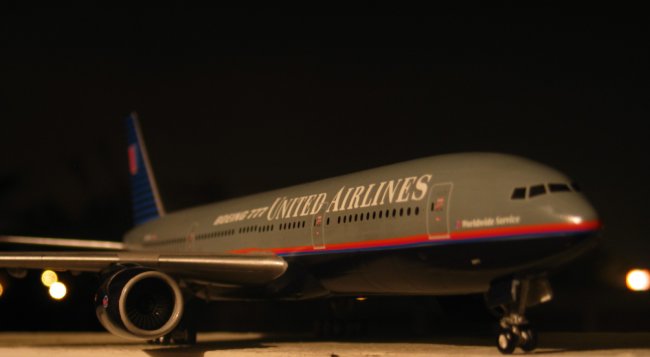
Markings:
The first time
I opened the box, I was amazed by how beautifully the markings were done. I
first applied the cockpit window decals, which handled very well. Then I began
with the orange/red stripe on the fuselage. This also handled well, but it was
connected to the window decals, which I had the real trouble with. The window decals
went over a lot curves, and many wrinkles began to show up that wouldn't go
away with SolvaSet. Eventually they dried up, but were still a little visible.
It was also hard to connect the orange/red strips over the wing, because you
had to place them at the right right level, which never worked out because of
the bends. The huge tail decal was also very easy to apply, but it left some
air bubbles and wrinkles. I then applied the small stuff, like registration,
and Pratt & Whitney logos on the engines. I made sure the decals stayed on
nicely by covering them with SolvaSet. When the job was dry, I covered the
areas with decals with a coat of Future.
|
Click on
images below to see larger images
|
|

|

|
|
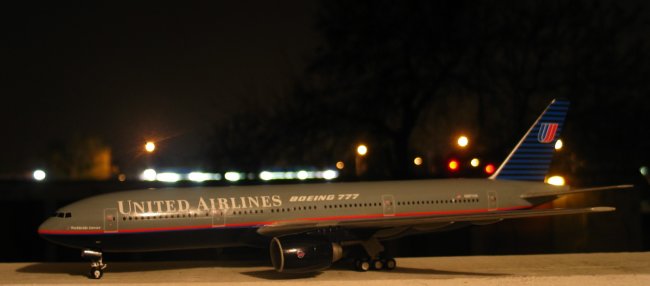
Weathering:
Using the
pictures I gathered on
airliners.net, I
decided to heavily weather the wings, stabilizers, and tail of the aircraft.
Most people think airliners are clean, but most of them spend more time in the
air than military aircraft, so usually they get dirtier. I decided to go with
a pastel chalk mixture on this one. I applied it to all panel lines on the
wings, stabilizers, tail area, engines, and landing gear bays. I then took the
excess off, and made sure there were very visible streaks of dirt on some
areas on the wings and stabilizers, just like on the real aircraft. I also
left some dirt in the corners of the landing gear bays to simulate their
dirtiness. I then sealed the whole aircraft with a mixture of Future and
Tamiya Flat Base to give the aircraft a shiny, but still realistic look.
Final Construction:
I added some
detail to the landing gear using styrene sheet and electrical wires. I then
primed them, and painted the landing gear white and used a dull knife to
apply the colors of the wires. I also brushed the gear with some Tamiya
Smoke. Gluing on the gear was complicated, because the part that holds the
wheels was separate from the gear itself. I had to put the aircraft on the
ground right away after gluing this part, so it would stand straight.
Otherwise, the structure of the landing gear is very good and holds very
well. I then attached the landing gear doors and engines. When this was all
dry, I coated all the parts that weren't coated before with the Future and
Flat Base mix.
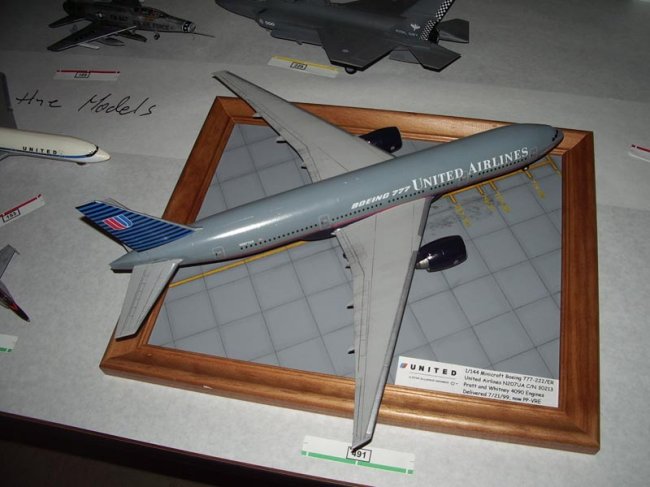
Remarks:
This was one of
the biggest projects I have ever done, since this is currently the
largest model on my shelf. I'm very proud of this one, and my dream of having
a model with the greatest livery on the greatest airliner ever made has come
true. This model won 2nd place at the 2005 Tri-City IPMS Region 9 Convention.
This model couldn't have been made possible without the help of everyone on
the ARC Discussion Boards, and the encouragement of fellow modelers. I hope
everyone with a 777 in their stash out there finds this review useful!
Dmitriy
|
|