|
Roden kits are
already well known. The parts are delicately molded, their models are fairly
detailed and the plastic is easy to work with. In this particular case the fit
of the parts was not very precise, the fuselage was a little bit flimsy and
alignment wasn't the best. The instructions are good in general, but I committed
a couple of mistakes (in the fuselage subassembly) misguided by /
misinterpreting them. The level of detail in general, as said, is really good, I
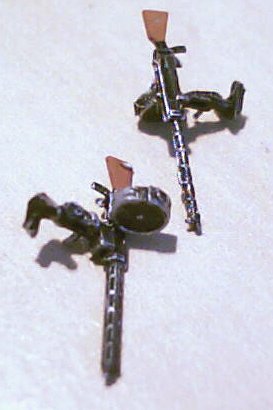
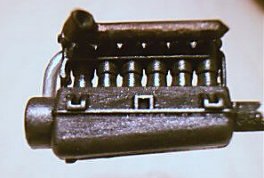
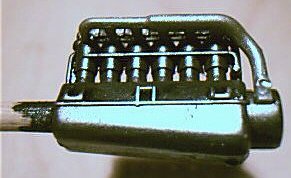
would say exquisite, and some parts are just amazing, like the machine guns. The
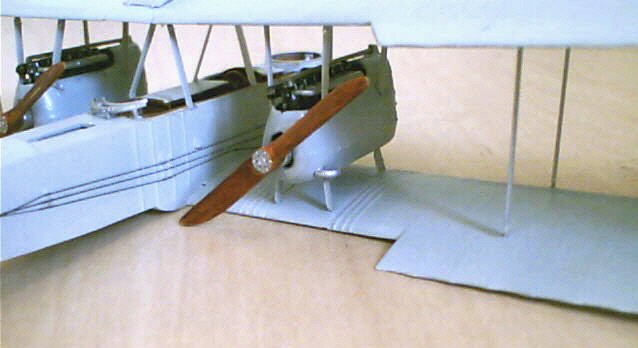
engines are very well depicted, but the fit inside their pods was vague.
|
Click on
image on below left to see larger image
|
|

|
|
|
You have to correct
as per instructions a couple of the kit parts in order to adapt them for this
particular version. A little bit of clean up has to be performed due to the
presence of flash in a few parts. Be careful removing the parts from the
sprues. Some of them are tiny and very fragile (should I tell that...well,
better not). I used a few extra parts from a photo-etched set (Extratech
EX72133) that as usual with these kind of parts challenged my skills as much as
my patience.
Strut placement (with the usual minor adjustments) and rigging (see below) took
most of the building time.
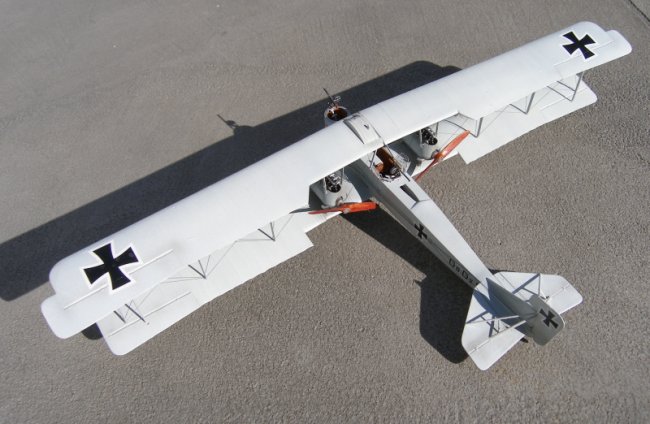
The kit recommended colors were used to airbrush the model with acrylic paints.
A base color was applied, and then lighter shades were laid down chordwise and
across the fuselage in quick airbrushed narrow strokes. Retrospectively I would
have liked more contrast between the light grey (struts and engine pods) and
pale blue (airframe).
This kit comes with a wonderful set of lozenge decals, but I opted for the
cleaner (and easier) version in pale blue (which also has a simpler
undercarriage). I couldn't confirm a reaction to decal solutions. Be aware that
one of the decals, the lettering that goes on the side of the fuselage, will
become separated in individual subjects. This was the case in only one of them,
the other (for the other side of the fuselage) had a complete carrier film. Go
figure.
I ended up with a nice model, but
a few, not very notorious alignment problems are there. Partially could be my
fault, but the lack of positive locking of the parts didn't help at all.
Rigging will need the assistance of higher powers. As usual with these kind of
models, is a chapter by itself (did I say a challenge by itself?). For this task
I normally use monofilament, the thinner I can get, and cut some pieces about a
foot long. Pressing the filament against a plastic surface with the broad tip of
a black permanent marker, I slowly slide the whole length to get it
"painted". I attach one end to the desire location and thread the rest
trough, if possible, as many wing struts or points I can. At the final end, and
carefully and slightly tensioning the filament, I attach it with cyanoacrylate
again, trimming the spare (after a few minutes) with the sprue cutter. I try to
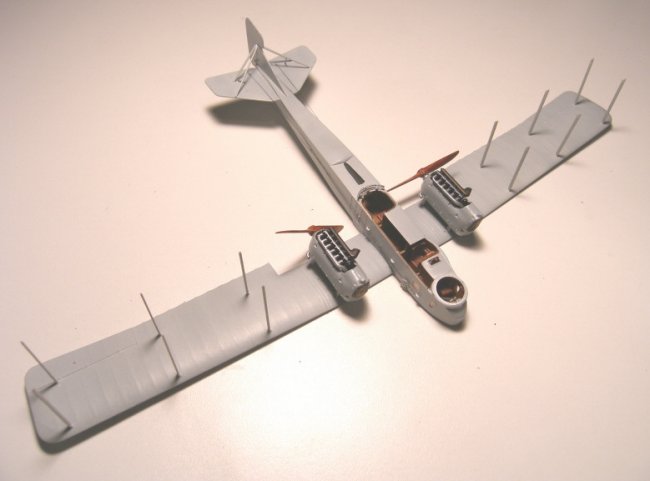
do this at the proper stage of building. One picture is included that shows the
rigging of the cables that control the tail surfaces, with the engines already
installed. Don't do this. And leave the machines guns, undercarriage, tail skid,
propellers and everything that can get in your way until you are done, if
possible, with all the rigging. I deal with the task in stages, taking my time
in between. As the keen eye may notice, I cheated a bit by making tiny holes at
the near end of the struts to thread the filament. Also, I skipped some of the
rigging, in a somewhat fruitless intend to keep the rigging/sanity equation in
balanced terms .
Transparencies, although good, were not used. Their locations were filled with
Testors' window maker instead.
The Gotha is a detailed, complex kit, that will require the best of you and will
reward largely all the efforts you may spend on it.
Gabriel
|
Click on
images below to see larger images
|
|

|

|

|
|
|