|
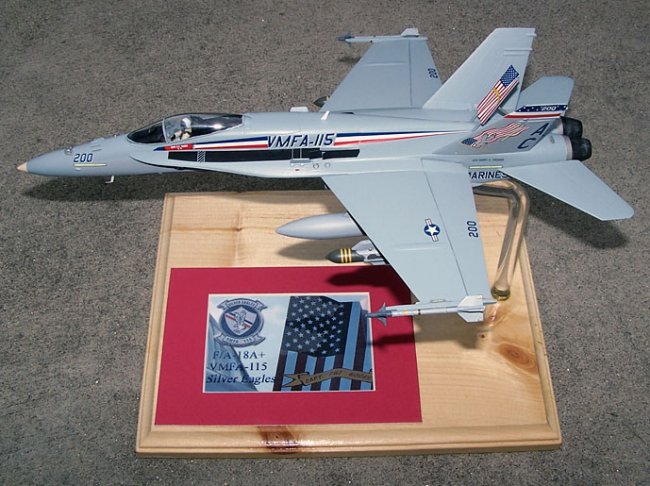
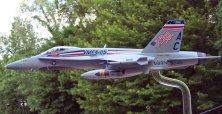
The model is a
tribute to "Puj" who lost his life in 2004. The walkarounds of the jet
are here.
At the time, I didn't realize the tail markings were a bit different....the
tail, the size of the side stripe and squadron and the ribbon added to the speed
brake.
Seeing I had a
couple Testors F/A-18 kits in my stash, I decided to use one with some
modifications. The kit is far from being an up-to-date and state-of-the-art
Hornet, but with some work, it can come out OK.
Modifications/additions
I did:
-
Added the 5
blade antennae to the nose
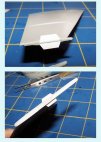
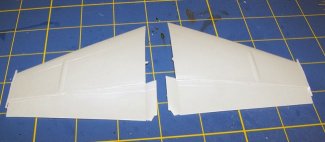
-
Added wing tip
formation light panels - I used a Hasegawa kit as a template to make the
panels.
-
Dropped the
flaps slightly
-
Used a seat from
a Monogram Hornet kit
-
Drilled out the
gun ports in the nose
-
Added the inner
tail braces from a Hasegawa kit (thanks to Dave Roof)
|
Click on
images below to see larger images
|
|
|
 |
|
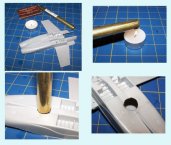
To make the nose
antennae, I had bought some Plastruct "T" shape styrene, but it was
too large...I needed the 3/64th size. So I ended up making my own...very tedious
with small strips. I made one long one, and then cut the smaller portions.
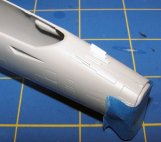
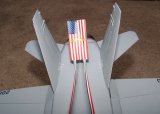
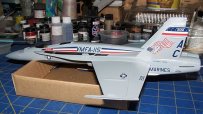
In Flight Display
The model is an in-flight
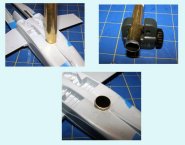
display, and early in the build, I needed to prepare for the support rod in the
model. For 48th scale models, I use 1/4 inch tubing to make the hole. I simply
heat and press it onto the model, and clean up the opening with files and
sandpaper. I found this method was a lot faster than trying to drill the hole. I
use a pipe cutter to cut the length of tubing I need, and secure it with 5
minute epoxy.
I also drilled out the gun ports
on the nose as they are not even evident on the kit part. I placed a small sheet
of plastic underneath the openings for a backing.
|
Click on
images below to see larger images
|
|
|
 |
|
Decals
I used Superscale's sheet for
VMFA-115 which had the markings with the speed brake art and different tail
markings.
I used the false canopy decals
from the Testors kit (for the Canadian version) and when I applied them, forgot
to leave a space between the front and back portions (to simulate the horizontal
frame on the real canopy), so I took some decal strip and painted it, and then
laid over to make the gap.
Formation light decals are not on the SS sheet, but I used some from a Two Bobs
sheet (always great sources for formation lights, stencils and walkways!).
I had a tough time with the speed
brake decal and conforming to shape of the brake. The top portion is so concave,
the decal curved over on itself as it dried (sort of like a shirt with a v-neck
opening). I touched up with insignia blue, and therefore one star is missing.
One section of the lower part also tore on me (which forced me to coat the rest
of the decal sheet with Future before using), so I had to use a second lower
half decal and place over it.
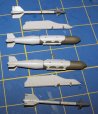
Weapons
The AIM-9 Sidewinders came from
an Academy F-15 kit, and GBU-31s came from the Revell Super Hornet kit along
with the weapons' decals.
|
Click on
images below to see larger images
|
|
|
|
 |
 |
The model will be sent to VMFA-115
"Siler Eagles" at MCAS Beaufort.
Ken
|